Cloudflare 推出 1.1.1.1 公共 DNS 服务,号称任何人都可以使用它可以加快互联网访问速度并并保持连接私密性。
Cloudflare 声称它将是 “互联网上速度最快,隐私优先的消费者 DNS 服务”,此前类似的免费公共服务 OpenDNS 与 Google
Cloudflare 的工作重点在于关注其自身 DNS 服务的隐私方面,并承诺在其内部每 24 小时就清楚 DNS 查询日志一次。
Cloudflare DNS 地址
Cloudflare 与 APNIC 合作通过以下两个 IP 提供 DNS 服务。
并且,本身作为互联网服务供应商的 Cloudflare 本身还利用了自己的长处,分析和研究垃圾流量,以保证 DNS 解析数据的准确。
Cloudflare 的 DNS 将支持 DNS-over-TLS 和 DNS-over-HTTPS,全球平均响应时间为 14ms,而 OpenDNS 为 20ms,Google 的 DNS 为 34ms。
这并不是 Cloudflare 第一次提供免费服务帮助网络。数年前他们为数百万个网站提供免费的 SSL 加密,该公司还提供 DDoS 保护以防止网站被恶意流量淹没而闻名。
如果您有兴趣启用 Cloudflare 的新 DNS,您可以在
https://1.1.1.1
找到所有信息。
作为一个走心的作者,我找来了各种操作环境下 DNS 修改的教程,供大家参考。

设置教程(简单英文)
设置
1.1.1.1
为你的默认 DNS 一般需要两分钟,即便你是电脑小白,也可以使用下面的教程来快速简易设置。
Setup on iOS
-
From your iPhone’s home screen, open the
Settings
app.
-
Tap
Wi-Fi
, then tap your preferred network in the list.
-
Tap
Configure DNS
, then tap
Manual
.
-
If there are any existing entries, tap the
-
button, and
Delete
next to each one.
-
Tap the
+ Add Server
button, then type
1.1.1.1
-
Tap the
+ Add Server
button again, then type
1.0.0.1
. This is for redundancy.
-
Tap the
Save
button on the top right.
-
You’re all set! Your device now has faster, more private DNS servers ✌️✌️
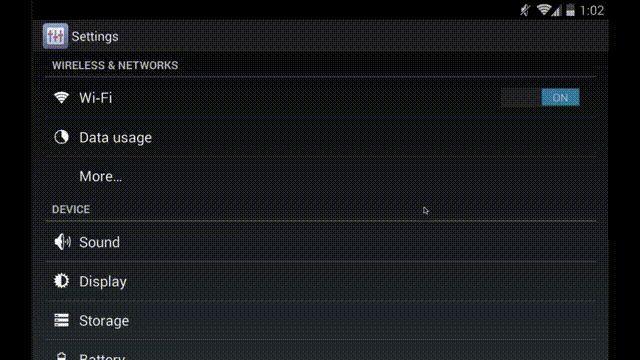
Setup on Android
-
Connect to your preferred wireless network.
-
Enter your router’s gateway IP address in your browser.
-
If prompted, fill in your username and password. This information may be labeled on the router.
-
In your router’s configuration page, locate the
DNS server
settings.
-
Write down any existing DNS server entries for future reference.
-
Replace those addresses with the 1.1.1.1 DNS addresses:
Save your settings, then restart your browser.
You’re all set! Your device now has faster, more private DNS servers ✌️✌️
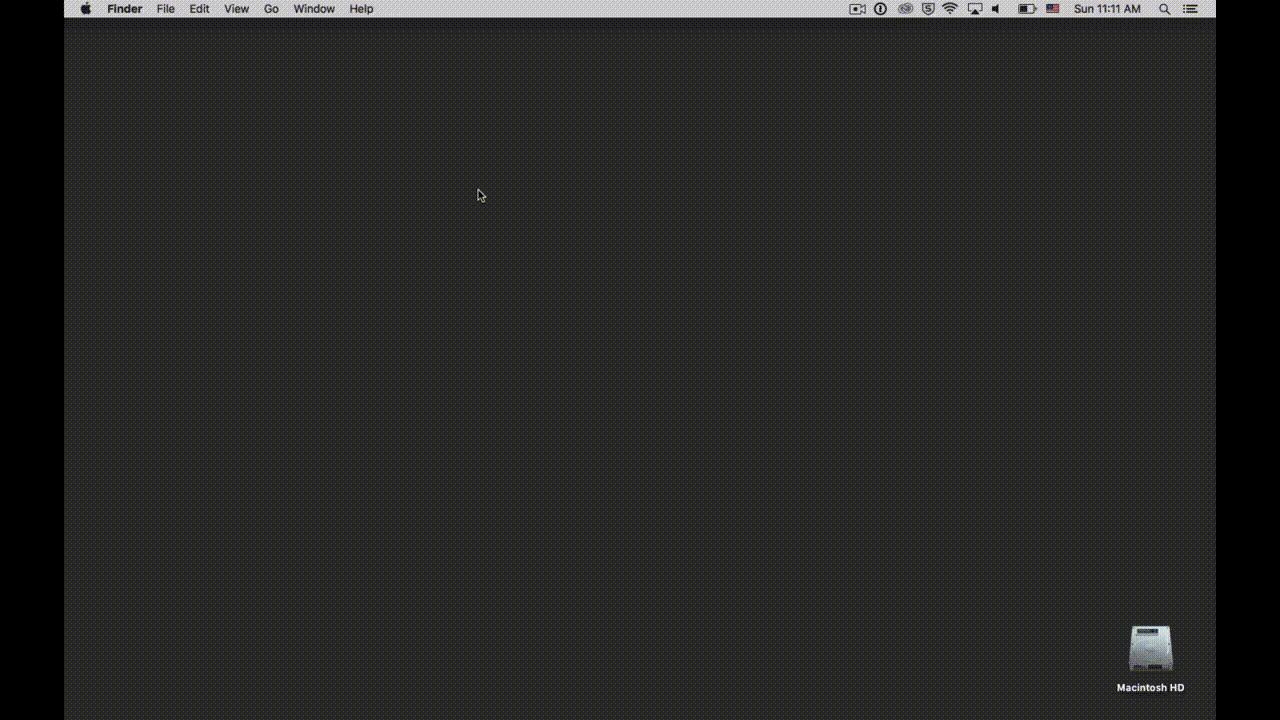
Setup on Mac
-
Open System Preferences.
-
Search for
DNS Servers
and select it from the dropdown.
-
Click the
+
button to add a DNS Server and enter
1.1.1.1
-
Click
+
again and enter
1.0.0.1
(This is for redundancy.)
-
Click
Ok
, then click
Apply
.
-
You’re all set! Your device now has faster, more private DNS servers ✌️✌️
Setup on PC
-
Click on the Start menu, then click on
Control Panel
.
-
Click on
Network and Internet
.
-
Click on
Change Adapter Settings
.
-
Right click on the Wi-Fi network you are connected to, then click
Properties
.
-
Select
Internet Protocol Version 4
(or Version 6 if desired).
-
Click
Properties
.
-
Write down any existing DNS server entries for future reference.
-
Click
Use The Following DNS Server Addresses
.
-
Replace those addresses with the 1.1.1.1 DNS addresses:


