
▶ Spring Boot 依赖与配置
Maven 依赖
org.springframework.cloud
spring-cloud-dependencies
Greenwich.RELEASE
pom
import
.....
org.springframework.cloud
spring-cloud-starter-consul-config
▶ 使用说明
1、部署 Consul
2、在 resources 路径下添加配置文件 bootstrap.properties,示例如下:
# consul 基本配置
spring.cloud.consul.host=127.0.0.1
spring.cloud.consul.port=8500
# 启用 consul 配置中心
spring.cloud.consul.config.enabled=true
# 基础文件夹,默认值 config
spring.cloud.consul.config.prefix=config
# 应用文件夹,默认值 application
spring.cloud.consul.config.default-context=testApp
# 环境分隔符,默认值 ","
spring
.cloud.consul.config.profile-separator=-
# 配置转码方式,默认 key-value,其他可选:yaml/files/properties
spring.cloud.consul.config.format=properties
# 配置 key 值,value 对应整个配置文件
spring.cloud.consul.config.data-key=data
# 启用配置自动刷新
spring.cloud.consul.config.watch.enabled=true
# 应用启动后多久后开始刷新配置,单位:秒
spring.cloud.consul.config.watch.wait-time=30
# 刷新频率,单位:毫秒
spring.cloud.consul.config.watch.delay=1000
3、在 Consul Key/Value 中添加应用配置
配置项
      spring


      .


      cloud


      .


      consul


      .


      config


      .


      prefix
指定了基本文件夹为
config
,需要先创建文件夹
config
:
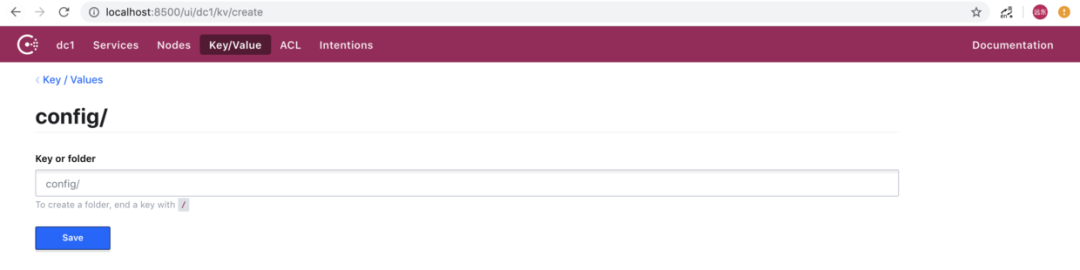
Tips:新建分两种类型:文件夹、Key/Value,创建文件夹只需在后面加上 "/" 即可
配置项
      spring


      .


      cloud


      .


      consul


      .


      config


      .


      default


      -


      context
和
      spring


      .


      cloud


      .


      consul


      .


      config


      .


      profile


      -


      separator
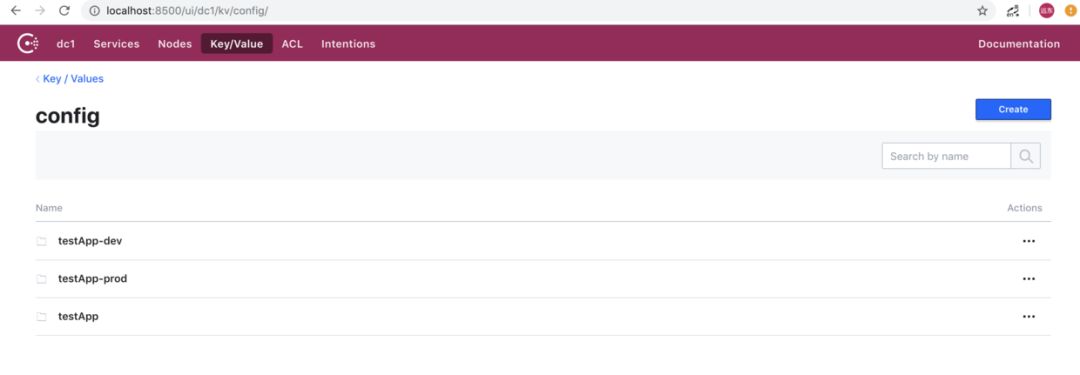
指定了应用名和环境分隔符,例如应用
testApp
有环境
default
、
dev
、
prod
,只需在
config
目录下创建
testApp
、
testApp
-
dev
、
      testApp


      -


      prod
三个文件夹即可:
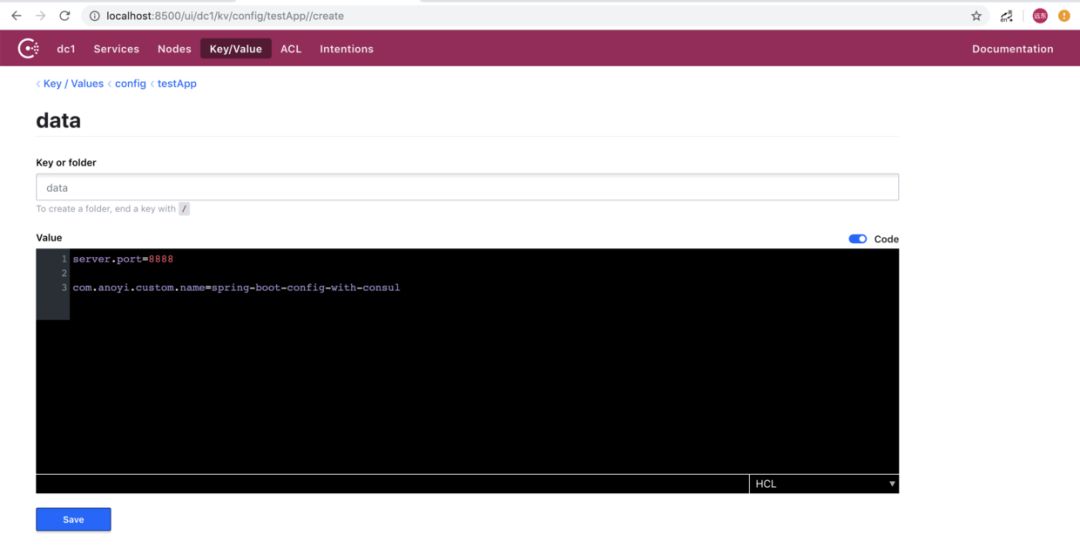
配置项
      spring


      .


      cloud


      .


      consul


      .


      config


      .


      format
指定了 Value 的转化方式,依据个人喜好,可以配置为
yaml
或
properties
,若选择这两种方式,需要配置
      spring


      .


      cloud


      .


      consul


      .


      config


      .


      data


      -


      key
,默认为
data
,示例配置:
Tips:如需单独配置每个 Key/Value,
       spring


       .


       cloud


       .


       consul


       .


       config


       .


       format
和
       spring


       .


       cloud


       .


       consul


       .


       config


       .


       data


       -


       key
均不用设置
4、配置刷新
      spring


      .


      cloud


      .


      consul


      .


      config


      .


      watch


      .


      delay
设置了配置的刷新间隔,在 Consul 修改了配置,会动态同步到应用内部。
▶ Github Demo URL
▶ 相关文档
关注公众号

点击原文阅读更多


