本系列物联网开发入门实战教程中硬件选取乐鑫 ESP8266 开发板,服务器采用
树莓派 3B+/4B 主板
,云端物联网平台基于开源EMQX社区版搭建,带你完整体验物联网场景端到端全栈开发过程。
乐鑫
ESP8266:
树莓派 4B:
树莓派(Raspberry Pi)
是一款基于ARM的微型电脑主板
,以SD/MicroSD卡为内存硬盘,卡片主板周围有1/2/4个USB接口和一个10/100 以太网接口,可连接键盘、鼠标和网线,同时拥有视频模拟信号的电视输出接口和HDMI高清视频输出接口,以上部件全部整合在一张仅比信用卡稍大的主板上,具备所有PC的基本功能只需接通电视机和键盘,就能执行如电子表格、文字处理、玩游戏、播放高清视频等诸多功能。
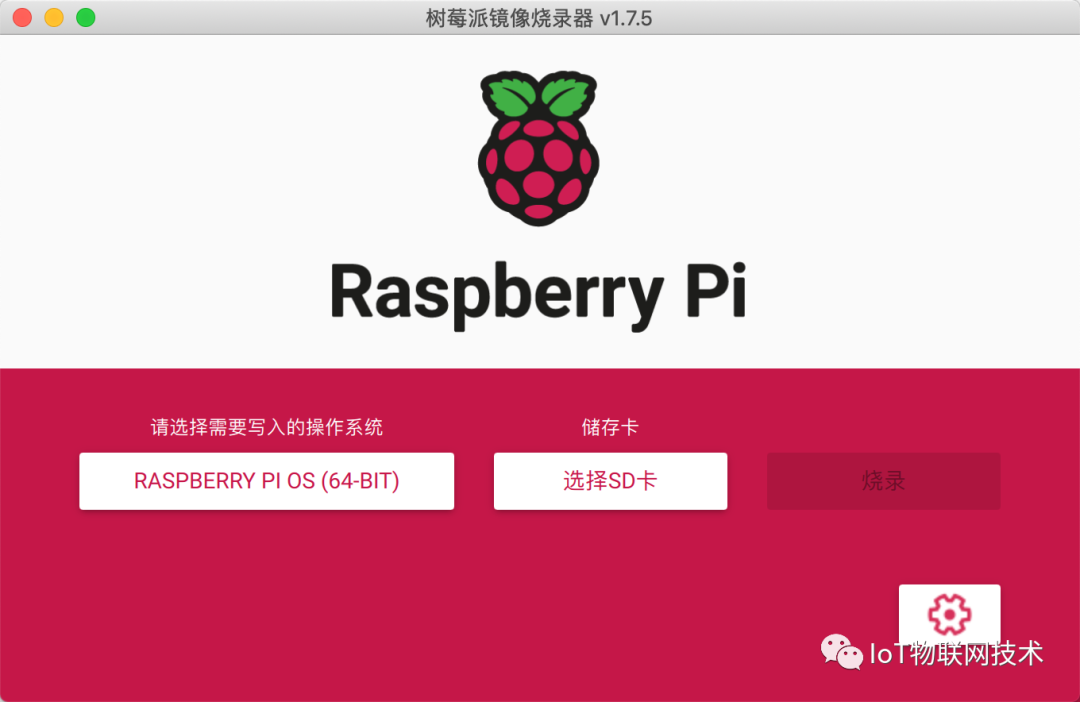
安装烧录工具
首先,打开树莓派官网,根据你的电脑系统下载对应烧录工具
https://www.raspberrypi.com/software/

安装
Raspberry Pi Imager
后,打开软件,选择 Raspberry Pi OS (64-bit),并选择
存储 MicroSD
卡。

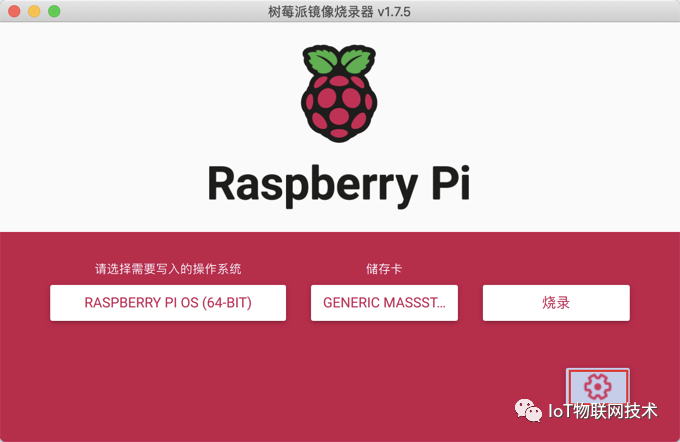
点击右下角的
设置
按钮,进行配置工作。
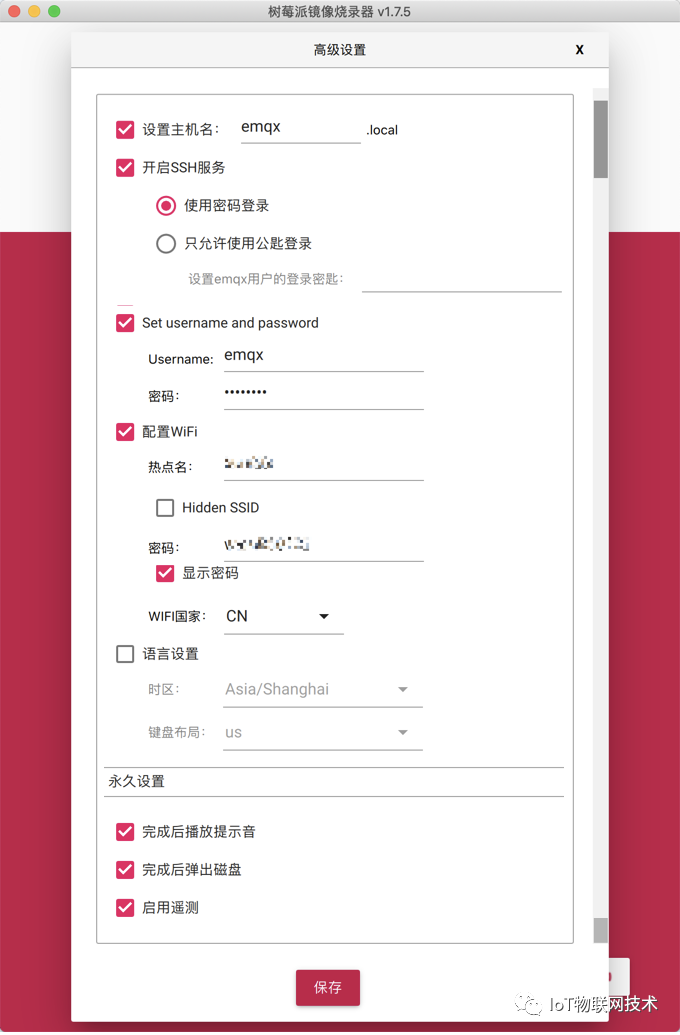
在高级设置页面,你需要根据实际情况配置如下信息:
配置项
|
参数值
|
|
主机名
|
emqx.local
|
|
SSH服务
|
开启
|
|
username : emqx
|
|
密码 : emqx@123
|
|
配置Wi-Fi
|
热点名 : 按实际情况配置
|
|
密码
:
按实际情况配置
|
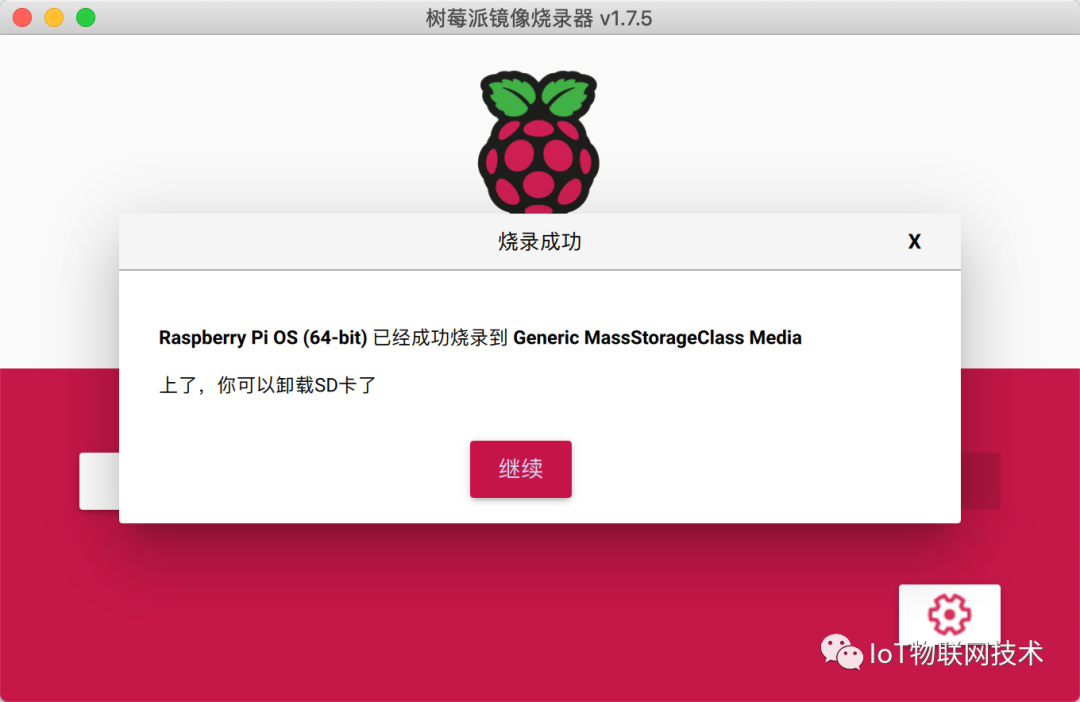
最后,点击
烧录
按钮,开始烧录固件,直到烧录完成。

EMQX 是一款完全开源,高度可伸缩,高可用的分布式 MQTT 消息服务器
,同时也支持 CoAP/LwM2M 协议,
适用于 IoT、M2M 和移动应用程序
。
EMQX 提供了高效可靠海量物联网设备连接,
可处理千万级别的并发,
实时处理消息和事件流数据,帮助您快速构建关键业务的物联网平台与应用。
因为树莓派系统是基于 Debian 裁剪版,所以我们下载支持
Debian
操作系统的开源社区版。操作步骤如下:
2.
1
SSH登陆树莓派
:
2.2 配置 EMQX Apt 源:
curl -s https://assets.emqx.com/scripts/install-emqx-deb.sh | sudo bash
2.
3
安装 EMQX
:
sudo apt-get install emqx
2.
4
启动 EMQX
:
sudo systemctl start emqx
控制台完整操作过程如下:
Last login: Sat Aug 19 21:01:31 on consoleiot$ ssh [email protected]The authenticity of host 'emqx.local (***)' can't be established.ECDSA key fingerprint is SHA256:***/ouBrME10.Are you sure you want to continue connecting (yes/no)? yesWarning: Permanently added 'emqx.local,***%en0' (ECDSA) to the list of known hosts.[email protected]'s password: Linux emqx 6.1.21-v8+
The programs included with the Debian GNU/Linux system are free software;the exact distribution terms for each program are described in theindividual files in /usr/share/doc/*/copyright.
Debian GNU/Linux comes with ABSOLUTELY NO WARRANTY, to the extentpermitted by applicable law.Last login: Wed May 3 04:23:52 2023
emqx@emqx:~ $ curl -s https://assets.emqx.com/scripts/install-emqx-deb.sh | sudo bashDetected operating system as debian/bullseye.Checking for curl...Detected curl...Checking for gpg...Detected gpg...Running apt-get update... done.Installing debian-archive-keyring which is needed for installing apt-transport-https on many Debian systems.Installing apt-transport-https... done.Installing /etc/apt/sources.list.d/emqx_emqx.list...done.Importing gpg key... done.Running apt-get update... done.
The repository is setup! You can now install packages.
emqx@emqx:~/ $ sudo apt-get install emqxReading package lists... DoneBuilding dependency tree... DoneReading state information... DoneThe following package was automatically installed and is no longer required: libfuse2Use 'sudo apt autoremove' to remove it.The following NEW packages will be installed: emqx0 upgraded, 1 newly installed, 0 to remove and 96 not upgraded.Need to get 39.9 MB of archives.After this operation, 93.8 MB of additional disk space will be used.Get:1 https://packages.emqx.com/emqx/emqx/debian bullseye/main arm64 emqx arm64 5.1.6 [39.9 MB]Fetched 39.9 MB in 16s (2,523 kB/s) Selecting previously unselected package emqx.(Reading database ... 96881 files and directories currently installed.)Preparing to unpack .../archives/emqx_5.1.6_arm64.deb ...Unpacking emqx (5.1.6) ...Setting up emqx (5.1.6) ... emqx State: degraded Jobs: 0 queued Failed: 1 units Since: Thu 1970-01-01 01:00:04 BST; 53 years 8 months ago CGroup: / ├─user.slice │ └─user-1000.slice │ ├─[email protected] … │ │ ├─app.slice │ │ │ ├─gvfs-goa-volume-monitor.service │ │ │ │ └─1005 /usr/libexec/gvfs-goa-volume-monitor │ │ │ ├─pulseaudio.service │ │ │ │ └─687 /usr/bin/pulseaudio --daemonize=no --log-target=journal │ │ │ ├─gvfs-daemon.service │ │ │ │ ├─ 844 /usr/libexec/gvfsd │ │ │ │ ├─ 849 /usr/libexec/gvfsd-fuse /run/user/1000/gvfs -f │ │ │ │ └─1021 /usr/libexec/gvfsd-trash --spawner :1.7 /org/gtk/gvfs/exec_spaw/0 │ │ │ ├─gvfs-udisks2-volume-monitor.service │ │ │ │ └─988 /usr/libexec/gvfs-udisks2-volume-monitor │ │ │ ├─gvfs-gphoto2-volume-monitor.service │ │ │ │ └─1009 /usr/libexec/gvfs-gphoto2-volume-monitor │ │ │ ├─pipewire.service │ │ │ │ ├─686 /usr/bin/pipewire │ │ │ │ └─730 /usr/bin/pipewire-media-session │ │ │ ├─dbus.service │ │ │ │ └─715 /usr/bin/dbus-daemon --session --address=systemd: --nofork --nopid… │ │ │ ├─gvfs-mtp-volume-monitor.service │ │ │ │ └─995 /usr/libexec/gvfs-mtp-volume-monitor │ │ │ └─gvfs-afc-volume-monitor.service │ │ │ └─1013 /usr/libexec/gvfs-afc-volume-monitor │ │ └─init.scope
│ │ ├─625 /lib/systemd/systemd --user │ │ └─654 (sd-pam) │ ├─session-3.scope │ │ ├─563 /bin/login -f │ │ └─708 -bash │ ├─session-4.scope │ │ ├─ 815 sshd: emqx [priv] │ │ ├─1136 sshd: emqx@pts/0 │ │ ├─1137 -bash │ │ ├─2478 sudo apt-get install emqx │ │ ├─2479 apt-get install emqx │ │ ├─2520 /usr/bin/dpkg --status-fd 32 --configure --pending │ │ ├─2521 /bin/sh /var/lib/dpkg/info/emqx.postinst configure │ │ └─2535 systemctl status --no-pager │ └─session-1.scope │ ├─615 lightdm --session-child 13 16 │ ├─703 /usr/bin/lxsession -s LXDE-pi -e LXDE -w openbox-lxde-pi │ ├─789 /usr/bin/ssh-agent x-session-manager │ ├─857 openbox --config-file /home/emqx/.config/openbox/lxde-pi-rc.xml │ ├─861 lxpolkit │ ├─863 lxpanel --profile LXDE-pi │ ├─865 pcmanfm --desktop --profile LXDE-pi │ ├─877 /usr/bin/ssh-agent -s │ ├─881 /usr/bin/python3 /usr/share/system-config-printer/applet.py │ ├─885 xcompmgr -aR │ └─997 /usr/lib/menu-cache/menu-cached /run/user/1000/menu-cached-:0 ├─init.scope │ └─1 /sbin/init splash └─system.slice ├─packagekit.service │ └─1123 /usr/libexec/packagekitd ├─systemd-udevd.service │ └─174 /lib/systemd/systemd-udevd ├─triggerhappy.service │ └─445 /usr/sbin/thd --triggers /etc/triggerhappy/triggers.d/ --socket /run/thd… ├─cron.service │ └─352 /usr/sbin/cron -f ├─polkit.service │ └─371 /usr/libexec/polkitd --no-debug ├─rtkit-daemon.service │ └─700 /usr/libexec/rtkit-daemon ├─bluetooth.service │ └─788 /usr/libexec/bluetooth/bluetoothd ├─wpa_supplicant.service │ └─449 /sbin/wpa_supplicant -u -s -O /run/wpa_supplicant ├─lightdm.service │ ├─540 /usr/sbin/lightdm │ └─562 /usr/lib/xorg/Xorg :0 -seat seat0 -auth /var/run/lightdm/root/:0 -nolist… ├─ModemManager.service │ └─493 /usr/sbin/ModemManager ├─systemd-journald.service │ └─139 /lib/systemd/systemd-journald ├─ssh.service │ └─590 sshd: /usr/sbin/sshd -D [listener] 0 of 10-100 startups ├─hciuart.service │ └─746 /usr/bin/hciattach /dev/serial1 bcm43xx 3000000 flow - b8:27:eb:b8:c8:d0 ├─rsyslog.service │ └─417 /usr/sbin/rsyslogd -n -iNONE ├─dhcpcd.service │ ├─436 /usr/sbin/dhcpcd -b -q │ └─553 wpa_supplicant -B -c/etc/wpa_supplicant/wpa_supplicant.conf -iwlan0 ├─rng-tools-debian.service │ └─513 /usr/sbin/rngd -r /dev/hwrng ├─cups-browsed.service │ └─592 /usr/sbin/cups-browsed ├─cups.service │ └─523 /usr/sbin/cupsd -l ├─udisks2.service │ └─447 /usr/libexec/udisks2/udisksd ├─dbus.service │ └─354 /usr/bin/dbus-daemon --system --address=systemd: --nofork --nopidfile --… ├─systemd-timesyncd.service │ └─282 /lib/systemd/systemd-timesyncd ├─avahi-daemon.service │ ├─345 avahi-daemon: running [emqx.local] │ └─363 avahi-daemon: chroot helper └─systemd-logind.service └─442 /lib/systemd/systemd-logindCreated symlink /etc/systemd/system/multi-user.target.wants/emqx.service → /lib/systemd/system/emqx.service.
emqx@emqx:~/ $ sudo systemctl start emqx
启动EMQX 服务后,你可以通过浏览器访问
http://emqx.local:18083/
来登录 EMQX Dashboard 管理控制台,进行设备连接与相关指标监控管理,
默认用户名及密码:
admin /public
。
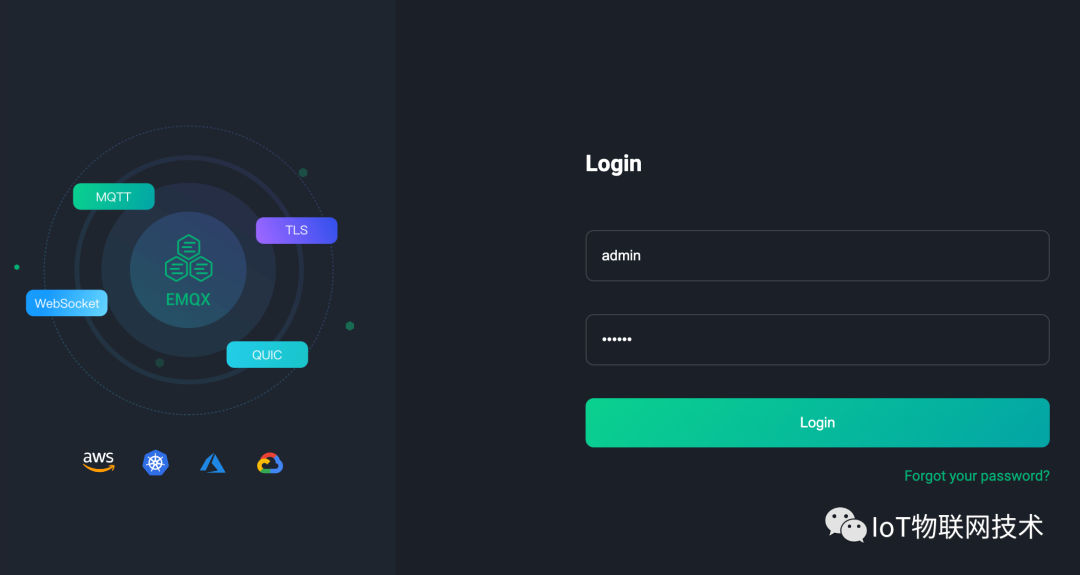
EMQX 系统登录页面
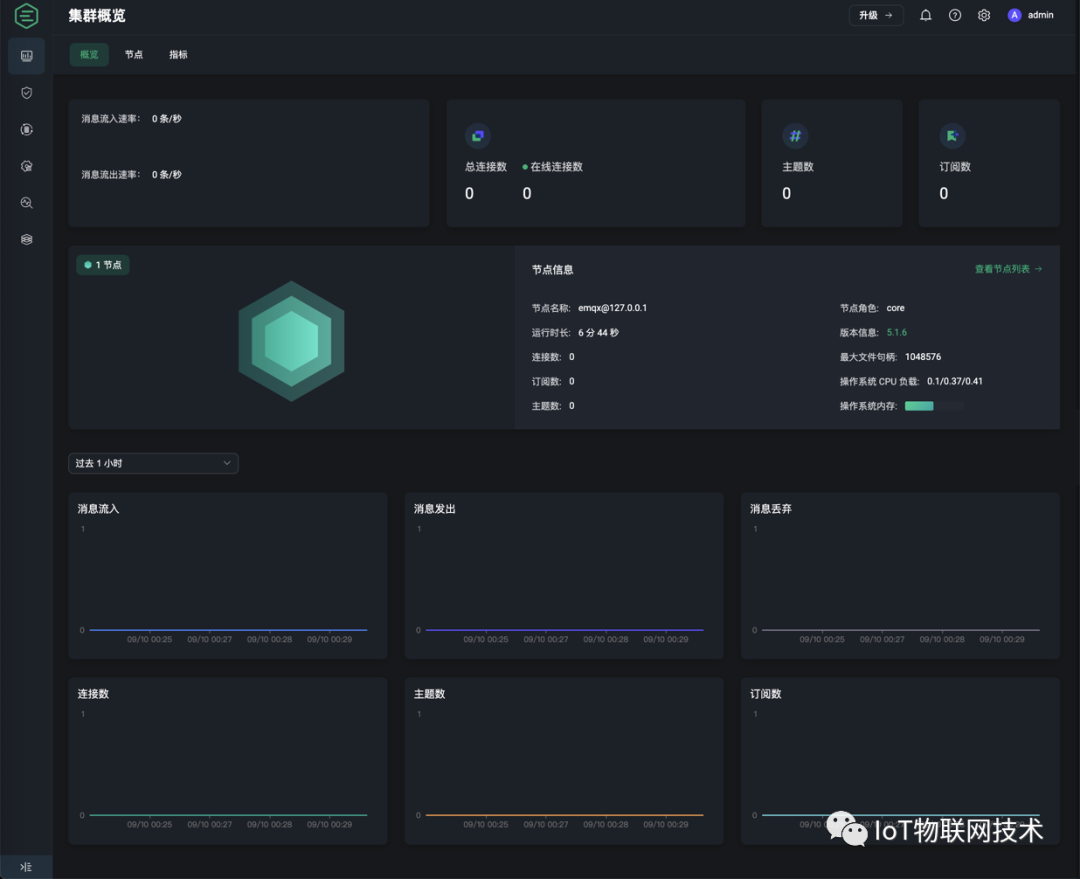
EMQX 管理控制台概览
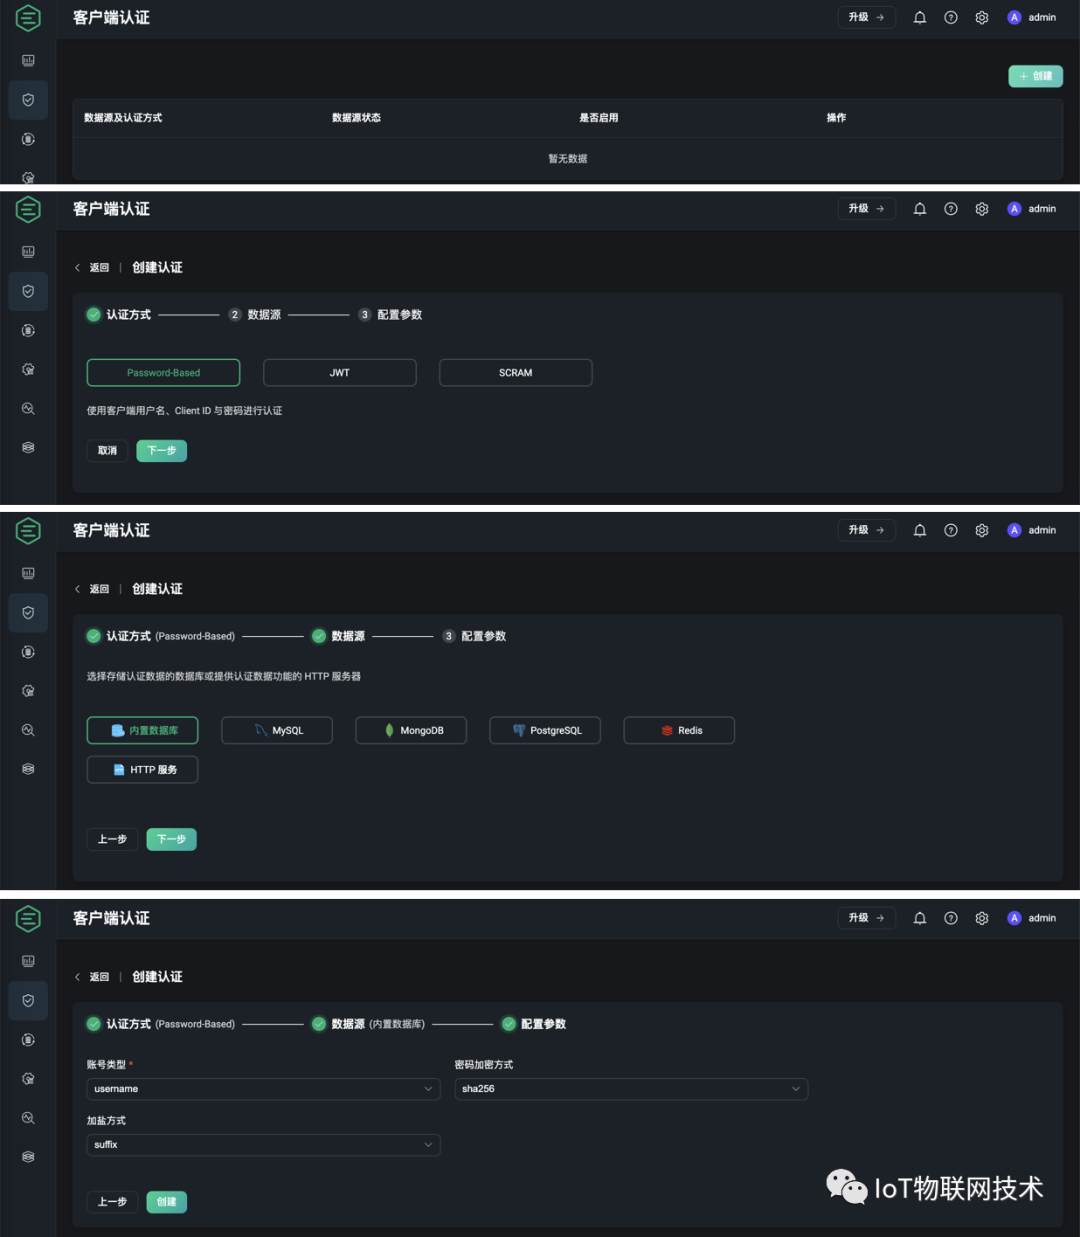
设备通过 MQTT 协议接入 EMQX 平台需要有合法身份认证信息,因此你需要在控制台配置客户端认证信息。
首先,接入客户端认证页面,选择
Password Based
认证方式,用
内置数据库
Mnesia 作为数据源,配置参数采用默认方式。
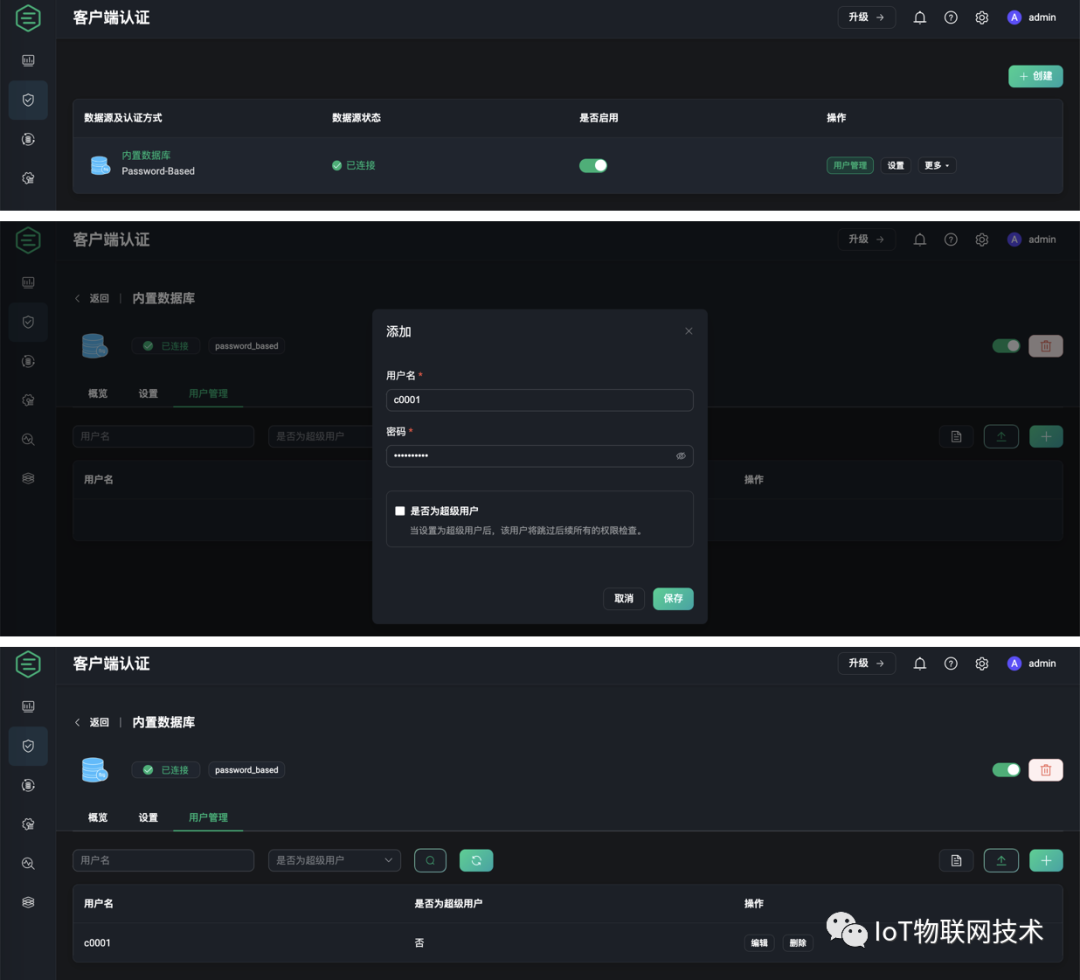
其次,你需要在内置数据中添加一个用户身份(username/password)。在用户管理里可以查看到已添加的用户。
MQTTX 工具

MQTTX 是
由 EMQ 开发的
一款
开源跨平台 MQTT 5.0 桌面客户端
,它兼容 macOS,Linux 以及 Windows 系统。
MQTTX 的用户界面 UI 采用聊天式设计,使得操作逻辑更加简明直观。它支持用户快速创建和保存多个 MQTT 连接,便于测试 MQTT/MQTTS 连接,以及 MQTT 消息的订阅和发布。


