正文
在开始之前需要了解一下开发vue插件的前置知识,推荐先看一下vue官网的插件介绍(https://cn.vuejs.org/v2/guide/plugins.html)
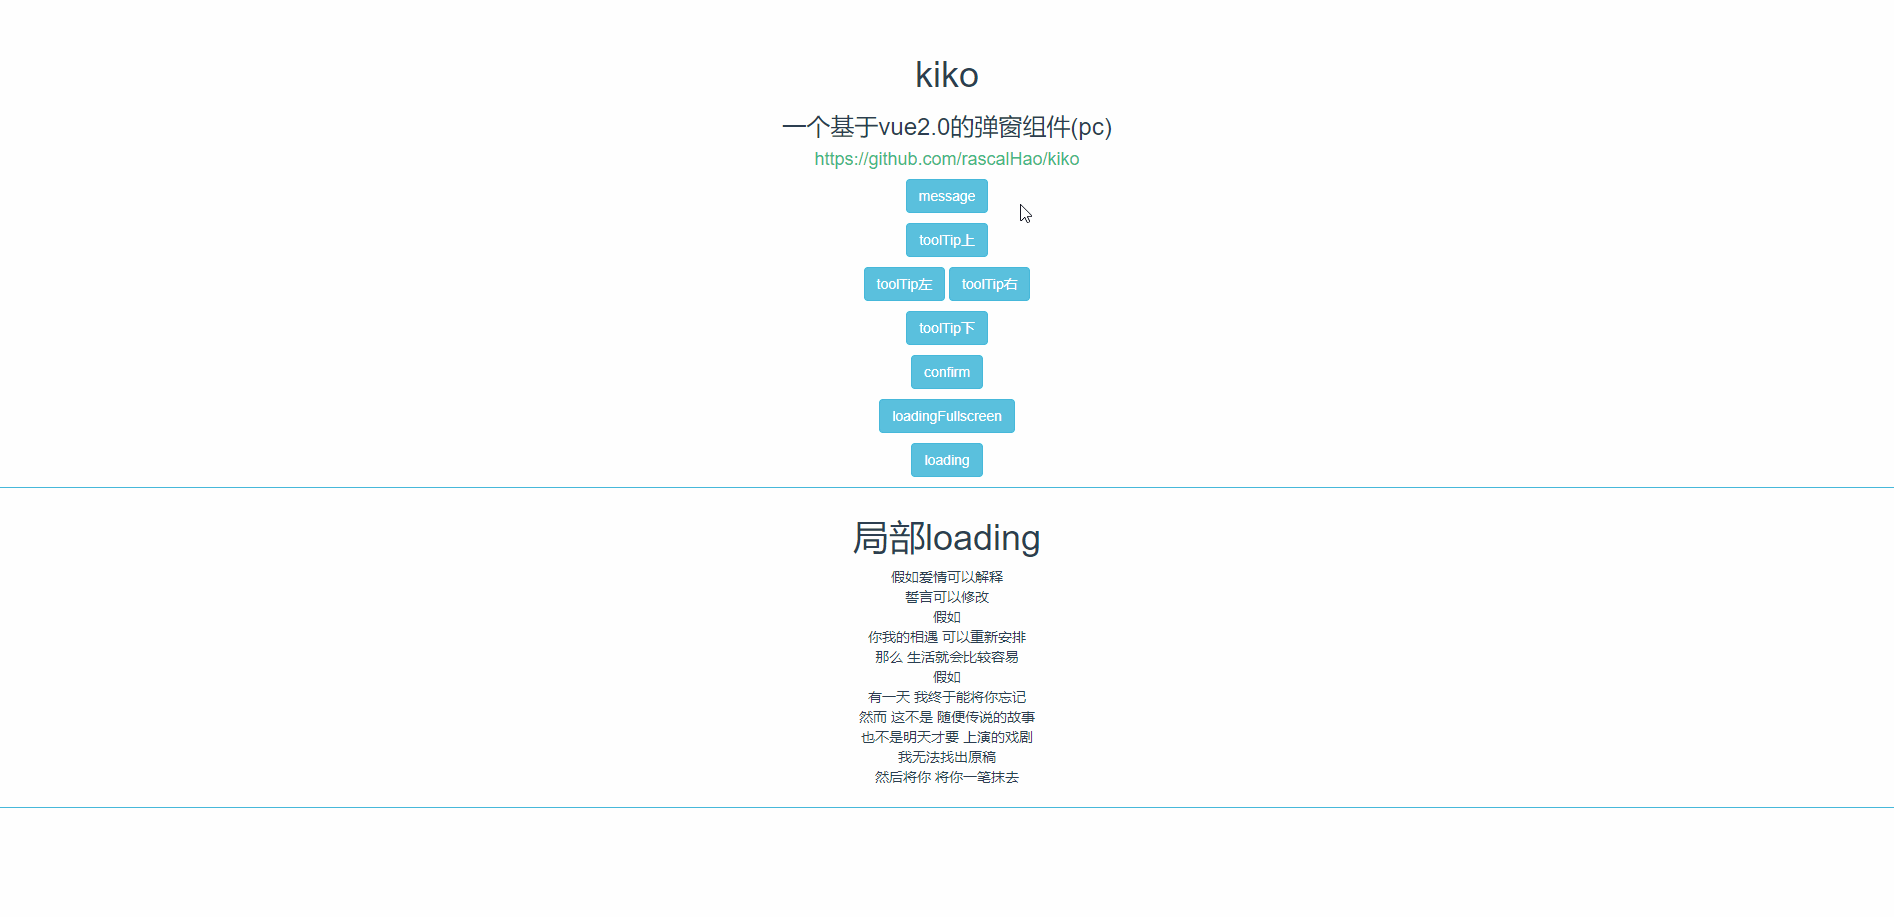
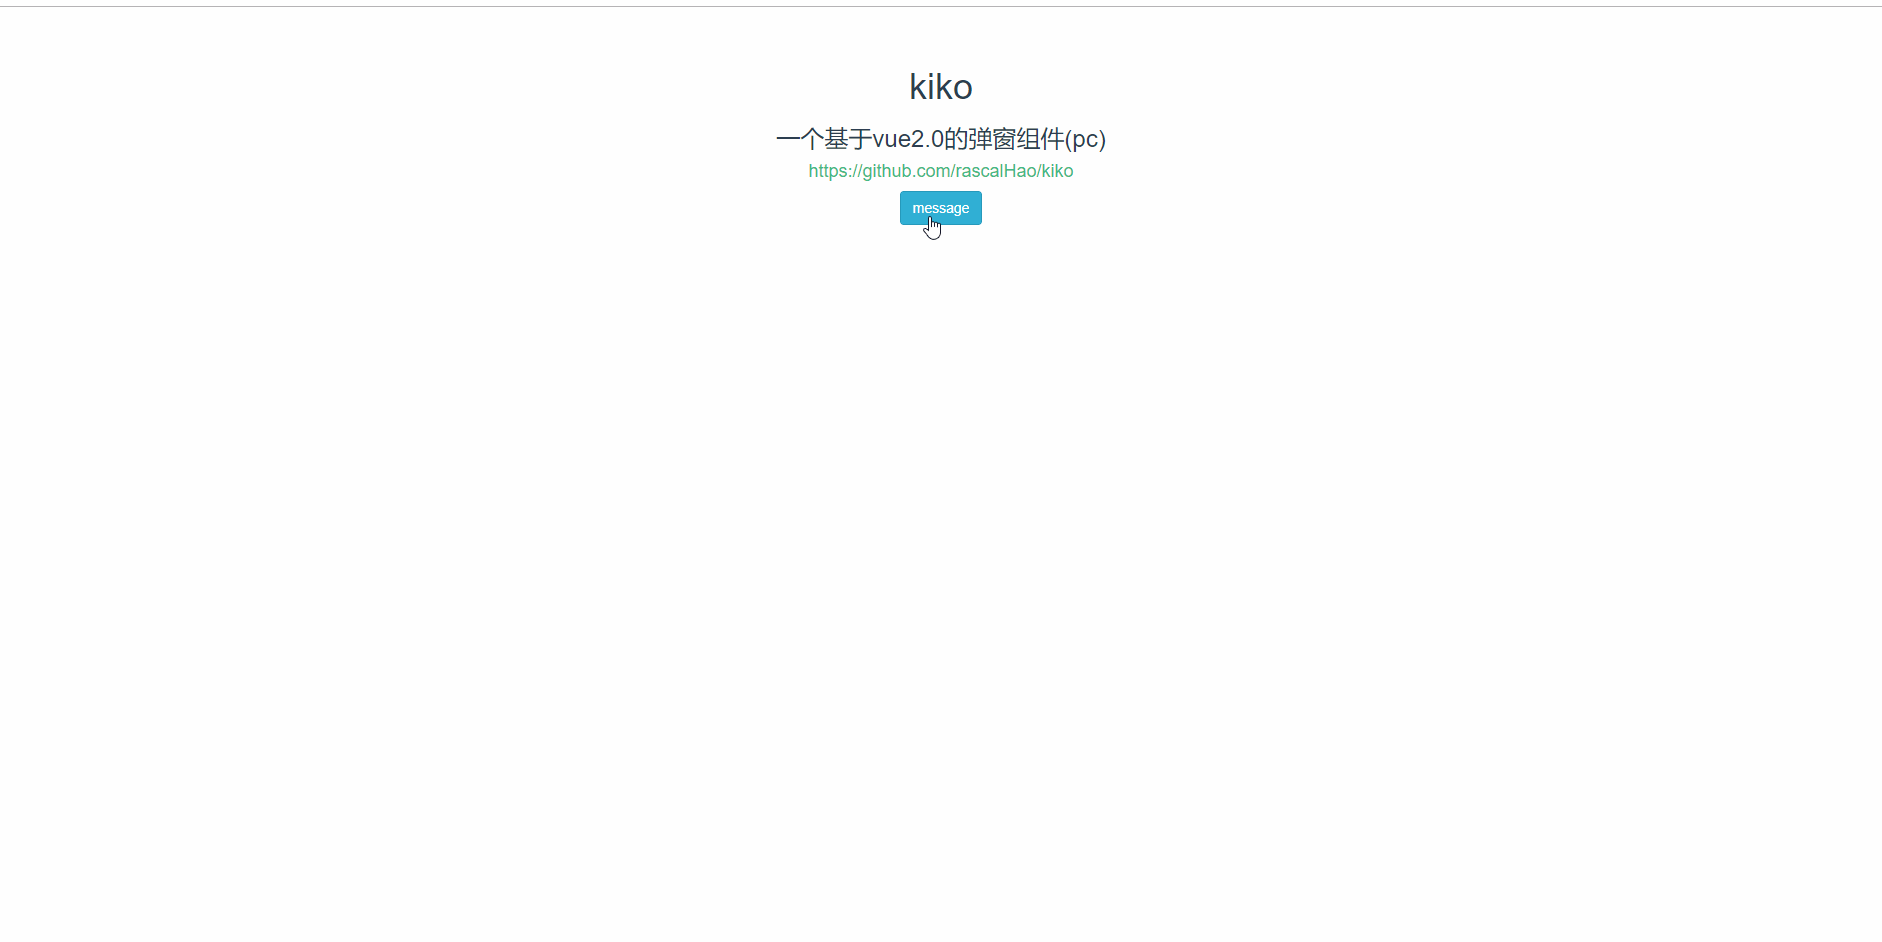
预览地址:http://haogewudi.me/kiko/index.html
源码地址:https://github.com/rascalHao/kiko
 搭建项目
搭建项目
1.vue-cli将你的vue项目初始化建好 vue init webpack my-project
2.平常我们引入插件的流程是:
npm i -S
import Vue from 'vue'
import xxx from 'xxx'
Vue.use(xxx)
所以可以在node_modules下面新建一个你的开发目录,我这里命名为kiko,所以现在大概引入我们的开发插件的步骤为(项目最终构建完会采取发布npm包的形式)
import Vue from 'vue'
import Kiko from '../node_modules/kiko/index.js'
Vue.use(Kiko)
3.在你的项目目录下通过npm init指令来初始化一个package.json文件,默认指定你的入口文件index.js,并在你的项目根目录下新建一个index.js入口文件
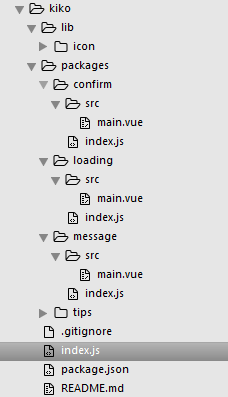
4.这里会构建4中类型的弹窗组件(message、toolTip、confirm、loading),基本的结构如图所示:
入口文件(可以先略过)
Vue.js 的插件应当有一个公开方法 install 。这个方法的第一个参数是 Vue 构造器 , 第二个参数是一个可选的选项对象;通过全局方法 Vue.use() 使用插件;可以再次看下vue官网的插件介绍
import KikoMessage from './packages/message/index.js'
import KikoToolTip from './packages/tips/index.js'
import KikoConfirm from './packages/confirm/index.js'
import KikoLoading from './packages/loading/index.js'
const install = function(Vue) {
Vue.component(KikoMessage.name, KikoMessage)
Vue.component(KikoToolTip.name, KikoToolTip)
Vue.component(KikoConfirm.name, KikoConfirm)
Vue.component(KikoLoading.name, KikoLoading)
Vue.prototype.$kiko_tooltip = KikoToolTip.installToolTip
Vue.prototype.$kiko_message = KikoMessage.installMessage
}
export default install
message
在项目的根目录创建message组件,通过
Vue.prototype.$kiko_message = function (methodOptions) {
// 逻辑...
}
来添加实例方法全局以调用this.$kiko_message()的方式来调用message
message组件结构
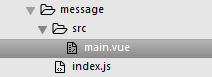
main.vue
name="fade">
class="kiko-message" v-if="isShow">
{{message}}
false
}, this.time);
}
}
}
index.js
import Vue from 'vue'
import Message from './src/main.vue'
Message.installMessage = function(options) {
if (options === undefined || options === null) {
options = {
message: ''
}
} else if (typeof options === 'string' || typeof options === 'number') {
options = {
message: options
}
}
var message = Vue.extend(Message)
var component = new message({
data: options
}).$mount()
document.querySelector('body').appendChild(component.$el)
}
export default Message
到这里的时候可以看下前面的入口文件介绍,你需要通过Vue.component注册为组件,并把Message.installMessage方法绑定到Vue.prototype.$kiko_message上。
toolTip
没有选择通过固化在页面中的方式来引入toolTip,因为考虑到可能在页面中的任何地方引入toolTip,如果固化了,将会大大限制toolTip的使用场景。所以采用了一个绑定到Vue.prototype的this.$kiko_tooltip全局方法来触发,这样就可以自定义触发方式,只需要通过传入$event就可以自动地定位任何有需要的元素了。
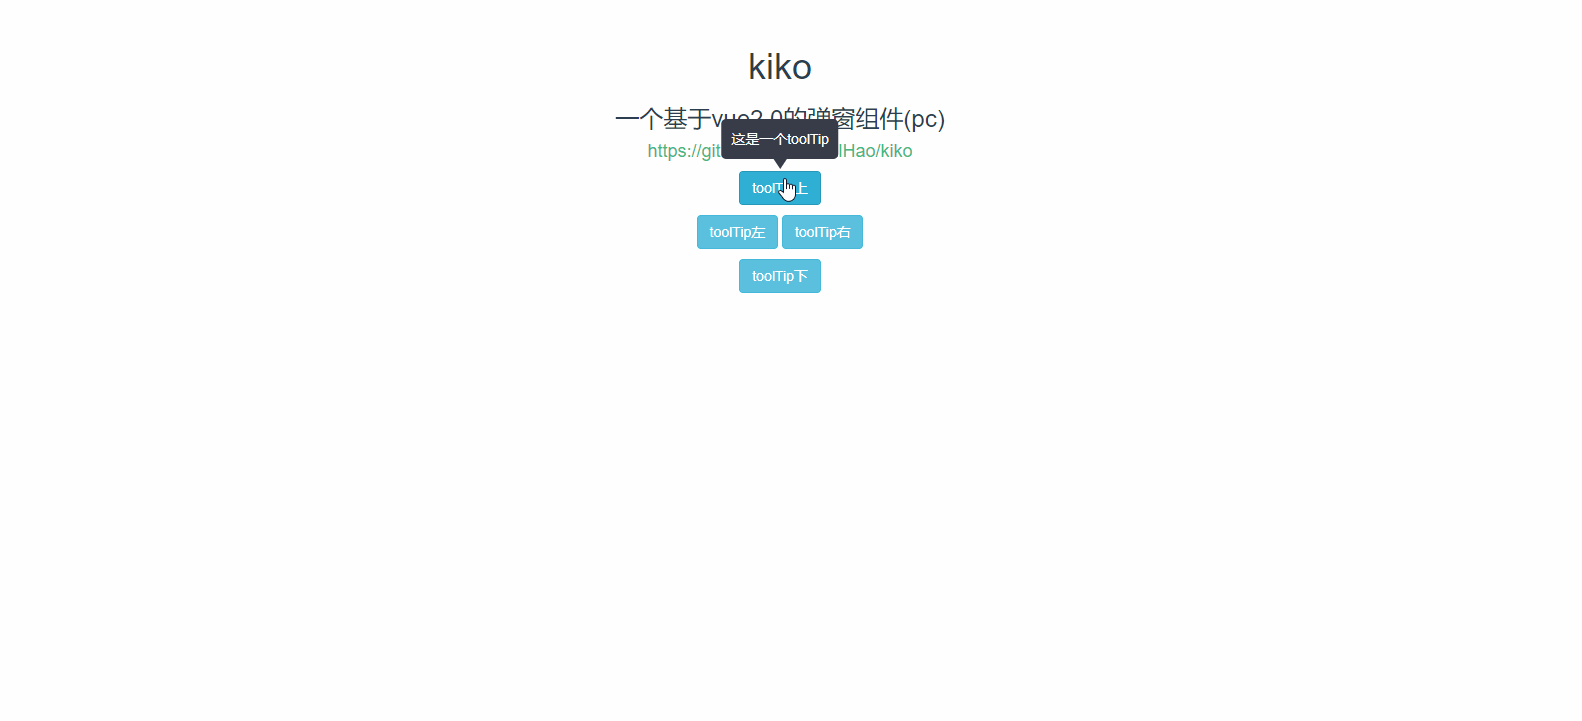 toolTip组件结构
同message组件结构
main.vue
v-if="isShow" id="kiko_tool_tip" class="kiko-tool-tip" :class="{'left': direction === 'left', 'right': direction === 'right', 'top': direction === 'top', 'bottom': direction === 'bottom'}" :style="{'background-color': background, 'color': color, 'top': top, 'left': left}">
{{content}}
class="arrow" :style
="arrowStyleObject">
,
direction: 'right',
background: 'red',
color: '#fff',
arrowStyleObject: ''
}
},
beforeMount () {
let node = document.querySelector('#kiko_tool_tip')
if (node && node.parentNode) {
node.parentNode.removeChild(node)
}
},
computed: {
top () {
switch (this.direction) {
case 'top':
return (this.rect.top - 12) + 'px'
case 'bottom':
return (this.rect.top + 12) + 'px'
case
'left':
return (this.rect.top + this.rect.height / 2) + 'px'
case 'right':
return (this.rect.top + this.rect.height / 2) + 'px'
}
},
left () {
switch (this.direction) {
case 'top':
return (this.rect.left + this.rect.width / 2) + 'px'
case 'bottom':
return (this.rect.left + this.rect.width / 2) + 'px'
case 'left':
return (this.rect.left - 12) + 'px'
case 'right':
return (this.rect.left + this.rect.width + 12) + 'px'
}
}
},
mounted () {
this.initColor()
this.hidden()
},
methods: {
initColor () {
switch (this.direction.toLowerCase()) {
case 'left':
this.arrowStyleObject = {
borderLeftColor: this.background
}
break;
case 'right':
this.arrowStyleObject = {
borderRightColor: this.background
}
break;
case 'top':
this.arrowStyleObject = {
borderTopColor: this.background
}
break;
case 'bottom':
this.arrowStyleObject = {
borderBottomColor: this.background
}
break;
}
},
hidden () {
let that = this
window.setTimeout(function(){
that.isShow = false
}, this.time)
}
}
}
index.js
import Vue from 'vue'
import ToolTip from './src/main.vue'
ToolTip.installToolTip = function(event, opt) {
var options = opt
var rect = {};
['top', 'left'].forEach(function(property) {
var scroll = property === 'top' ? 'scrollTop' : 'scrollLeft'
rect[property] = event.target.getBoundingClientRect()[property] +
document.body[scroll] +
document.documentElement[scroll]
});
['height', 'width'].forEach(function(property) {
rect[property] = event.target.getBoundingClientRect()[property]
});
options.rect = rect
var toolTip = Vue.extend(ToolTip)
var component = new toolTip({
data: options
}).$mount()
event.target.appendChild(component.$el)
}
export default ToolTip
通过Element.getBoundingClientRect()方法获取元素的大小及其相对于视口的位置,之后对提示信息进行fixed定位。
confirm
confirm在保留页面的情况下会弹出一个对话框,适合一些场景更大的情况。可以用来进行一些复杂带校验的弹窗信息展示,也可以只用于简单信息的展示。可以通过title属性来显示任意标题,通过width属性来修改显示区域的宽度。
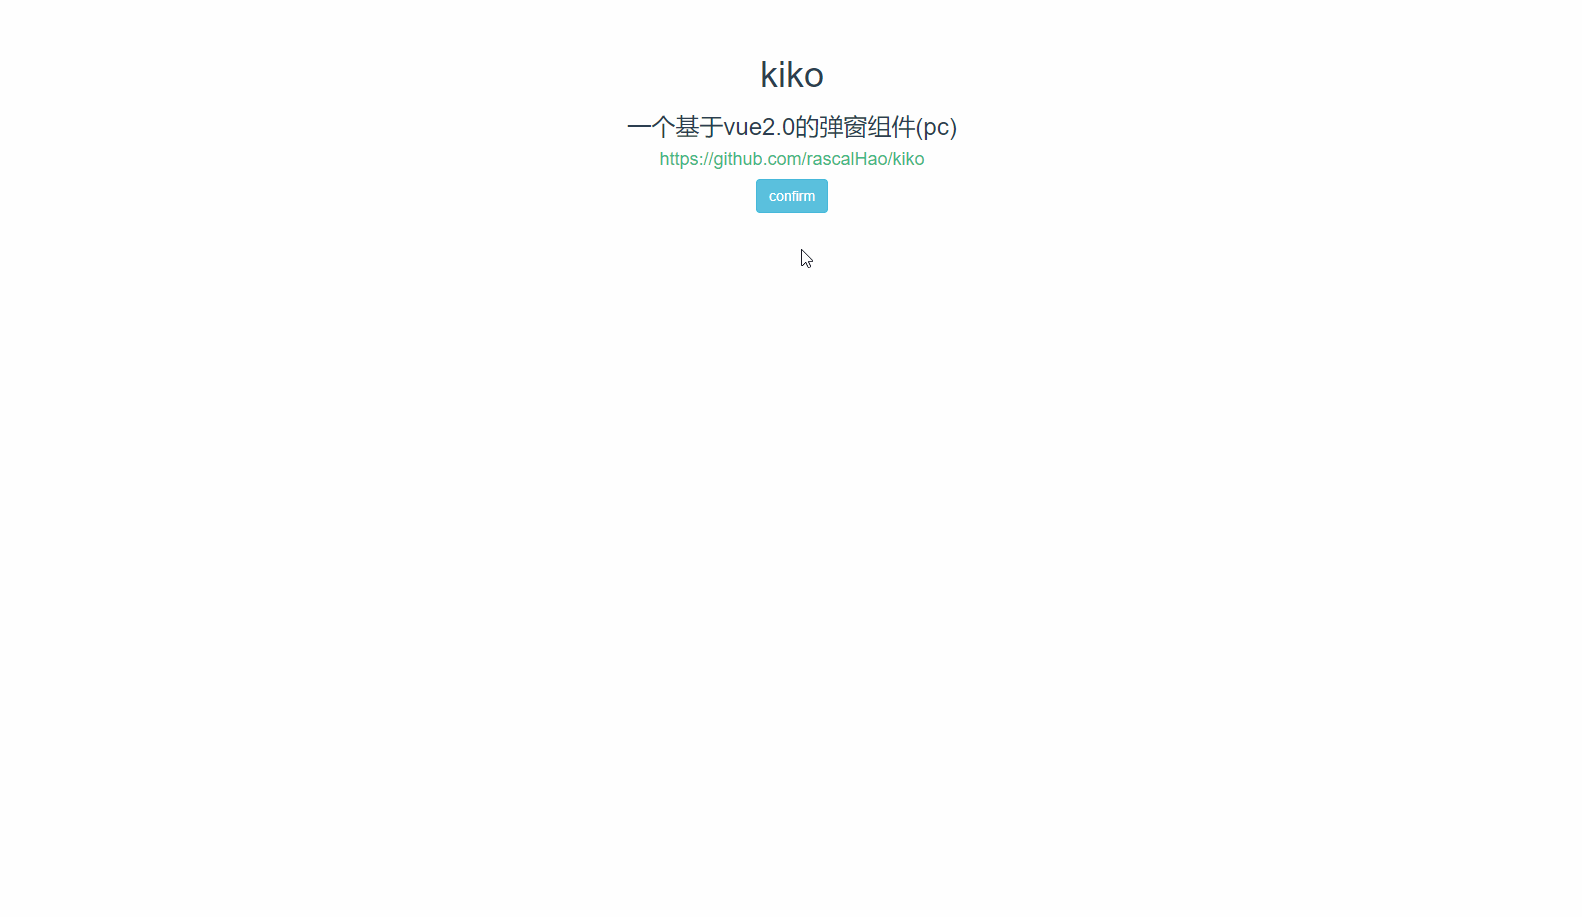 confirm组件结构
同message组件
main.vue
name="bounce">
class="kiko-confirm" v-if="visible">
class="bg">
class="kiko-container" :style="{width: width}">
class="header">
{{title}}
@click="close" class="icon-remove icon-large kiko-close-btn" v-if="closeVisible">
class="content">
name="footer">


