作者:Yiutto,编程浪子
GitHub:
github.com/Yiutto
之前有看到有人用python实现自动运行
微信小程序《跳一跳》
,后来看到别人用hash码实现《加减大师》的自动答题领取娃娃,最近一直在研究深度学习,为啥不用机器学习实现呢?不就是一个分类问题吗!
如何实现自动答题微信小游戏《加减大师》?
思考:
一、图像特征工程
如何获取手机游戏上的图片?
实验结果:
三种截屏方式花费的时间差异很大,第一种每次截屏需要0.7s左右,第二种0.3s左右,第三种0.04s左右。
当然选择第3种咯,下载地址
[https://www.apowersoft.cn/phone-mirror]
,一个好的软件是成功的关键(够清晰)。
获取训练样本
相关步骤:
1.
util.py
中的
shotByWinAPI
函数:首先利用window自带api获取全屏图片,然后自定义
config.py
的相关参数。
# 从PC端截屏时,截取区域左上角相对桌面的x坐标
'projection_x': 32,
# 从PC端截屏时,截取区域左上角相对桌面的y坐标
'projection_y': 278,
# 从PC端截屏时,截取区域的宽度
'projection_width': 482,
# 从PC端截屏时,截取区域的高度
'projection_height': 854,
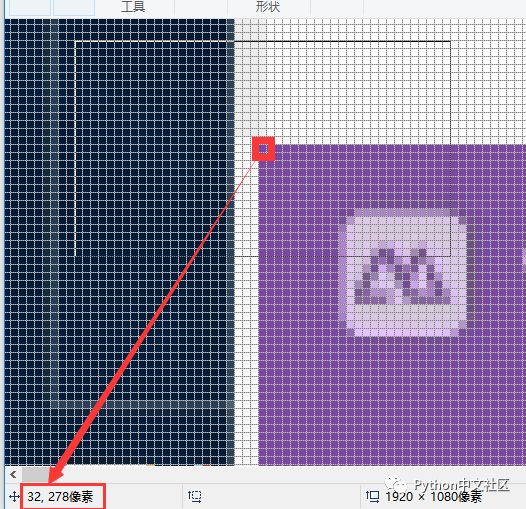
可以用window命令键
PrtScSysRq
(F12的右边),然后复制到画图中(1920x1080)。
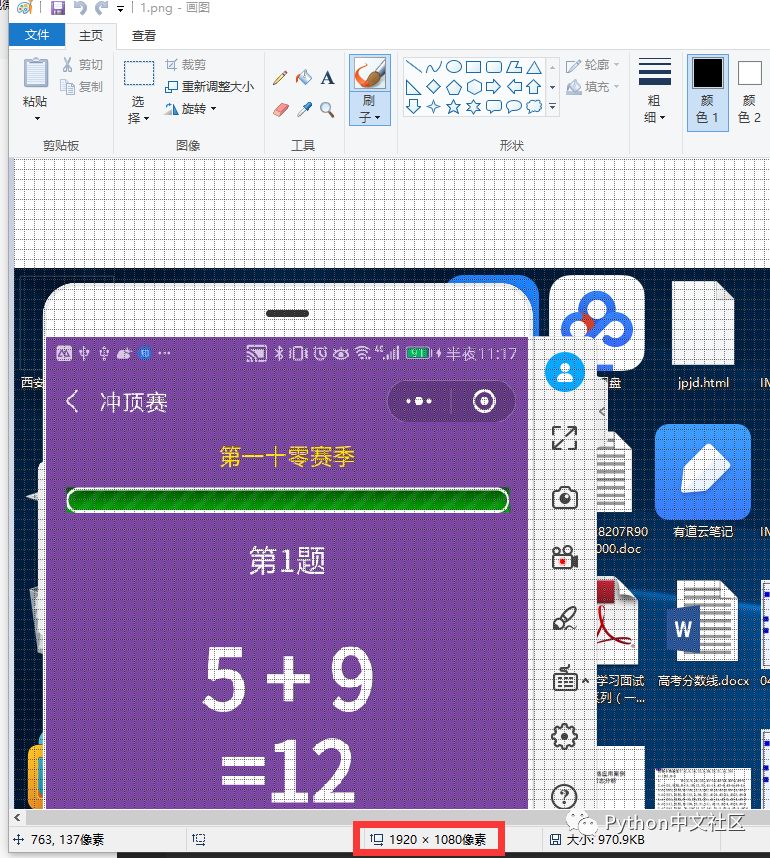
用画图的放大镜放大,图中红色框的小方块位置(32x278)
projection_x
即32,
projection_y
即278。
在画图中计算出截图的宽度和高度,即
projection_width
和
projection_height
(482x854)
2.
img_tool.py
函数介绍:主要是通过
all(img,filename)
函数进行图片分割
srcImg = cv2.imread(os.path.join("ScreenShotForTrain", f), 0)
上述代码是为了将彩色图片灰度模式加载
def all(img, filename):
"""封装对图片的所有操作"""
img = cropImg(img)
img = binaryImg(img)
img1, img2 = cropAgain(img)
imgs = cutImg(img1, filename + '_1') + cutImg(img2, filename + '_2')
return imgs
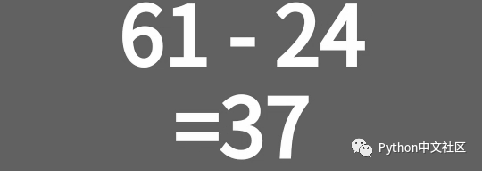
def cropImg(img):
"""裁剪原始截图"""
height = img.shape[0]
img2 = img[
int(config.config['exp_area_top_rate'] * height):int(config.config['exp_area_bottom_rate'] * height),:]
#print('裁剪完毕')
return img2
cropImg(img)
函数主要是为了裁剪含有数字的区域,通过设置参数
#表达式区域的顶部处于整张图片的位置(307/854=0.359)
'exp_area_top_rate': 0.36,
#表达式区域的底部处于整张图片的位置(478/854=0.559)
'exp_area_bottom_rate': 0.56,
如果觉得设置比例太麻烦,可以直接写死位置(
img2=img[int(307):int(478),:]
)。得到如下图:
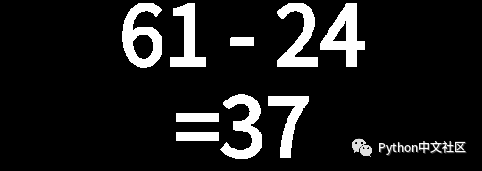
def binaryImg(img):
"""二值化图片"""
ret, thresh1 = cv2.threshold(img, config.config['binary_threshold'], 255, cv2.THRESH_BINARY)
# ret, thresh1 = cv2.threshold(img, config.config['binary_threshold'], 255, cv2.THRESH_BINARY_INV)
#print('二值化完毕')
return thresh1
binaryImg(img)
函数主要是为了将图片二值化,可以参考
Python+OpenCV教程6:阈值分割
。得到的图片如下图:
def cropAgain(img):
"""再次裁剪"""
height = img.shape[
0]
img1 = img[0:int(0.5 * height), :]
img2 = img[int(0.5 * height):height, :]
#print('再次裁剪完毕')
return img1, img2
cropAgain(img)
函数主要是为了将图片分成上下两部分


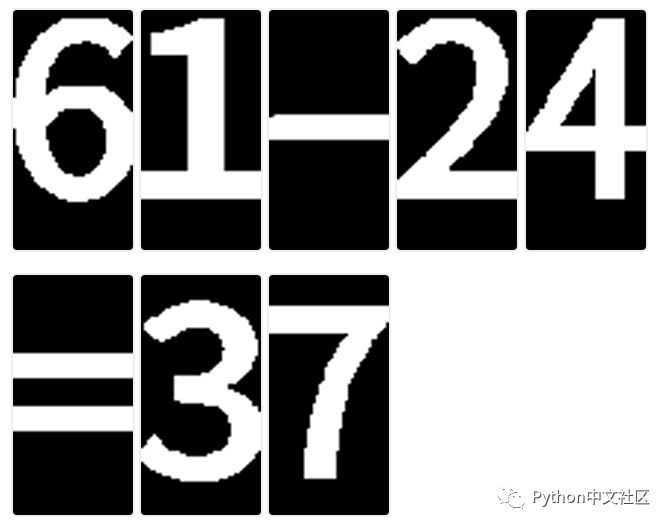
def cutImg(img, filename):
"""水平分割图片"""
sb = np.array(img)
print(sb.shape)
sum_list = np.array(img).sum(axis=0)
start_index = -1
res = []
names = []
index = 0
for sum in sum_list:
if sum > 255 * 4:
if start_index == -1:
start_index = index
else:
if start_index != -1:
if config.config['type'] == 0:
sigleCharWidth = config.config['abd_single_char_width']
else:
sigleCharWidth = config.config['pc_single_char_width']
#为了防止字符粘连,需要在此处宽度进行判断
if index - start_index > sigleCharWidth * 2:
res.append((start_index,start_index + (index - start_index) // 2))
res.append((start_index + (index - start_index) // 2, index))
else:
res.append((start_index, index))
start_index = -1
index += 1
imgs = []
count = 0
for single_char in res:
start = single_char[0]
end = single_char[1
]
sub_img = img[:, start:end]
sub_img = cv2.resize(sub_img, (120, 240), interpolation=cv2.INTER_CUBIC)
#cv2.imwrite('SingleChar/%s_%d.png' % (filename, count), sub_img)
#names.append('%s_%d.png' % (filename, count))
# cv2.imshow(str(count), sub_img)
imgs.append(sub_img)
count += 1
# cv2.waitKey()
#print('分割,重新设置大小 %s 完毕' %filename)
return imgs
设置
pc_single_char_width
参数值,得到如下图:
c = 0
def v_cut(img):
global c
"""竖直方向切割图片"""
sb1 = np.array(img)
print(sb1.shape)
sum_list = np.array(img).sum(axis=1)
start_index = -1
end = -1
index =
0
for sum in sum_list:
if sum > 255 * 2:
start_index = index
break
index += 1
for i in range(1, len(sum_list) + 1):
if sum_list[-i] > 255 * 2:
end = len(sum_list) + 1 - i
break
img = img[start_index:end, :]
img = cv2.resize(img, (30, 60), interpolation=cv2.INTER_CUBIC)
#cv2.imwrite('SingleChar/%d.png' %c, img)
c += 1
return img
重新固定图片的大小(30x60),得到如下图:


二、训练模型,建立LR分类器
相关代码请看
ml.py
,这里不过多介绍,直接利用python包
fromsklearn.linear_modelimportLogisticRegression
LogisticRegression(class_weight='balanced')
sklearn逻辑回归(Logistic Regression,LR)类库使用小结
三、自动答题模式开启
实现原理
-
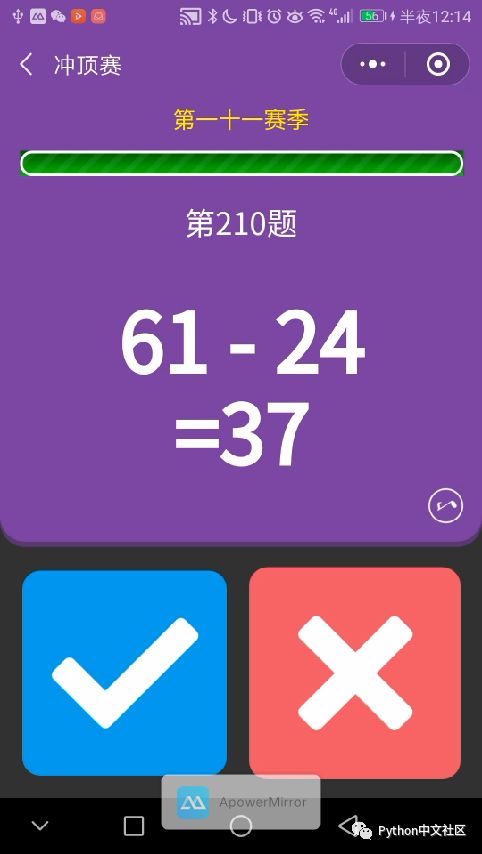
截取游戏界面,本项目中提供了三种方案。在PC端和手机端同时运行APowerMirror软件,将手机投屏到电脑上,然后使用Python调用windows的原生API截取电脑上对应手机屏幕的区域。
-
提取截屏图片中的表达式区域并进行文字识别,得到表达式字符串。 由于图片中的表达式区域固定,而且字符规整,因此这一步不是很困难,我仅仅训练了一个简单的逻辑回归模型就得到了非常高的识别正确率。
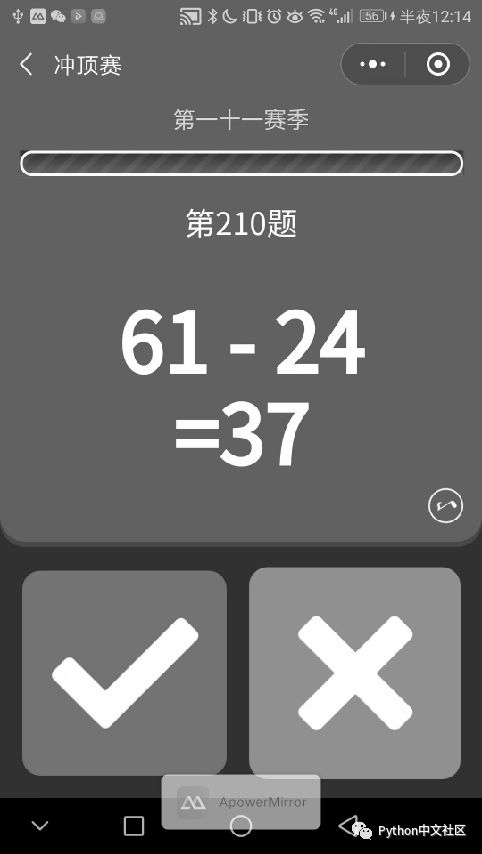
-
根据第二步得到的表达式,调用Python的eval()函数,得到表达式结果的正误,然后点击手机屏幕的相应区域。当截图使用投屏的方案时,点击手机屏幕通过代码点击 电脑上手机的对应区域。
首次操作,生成分类器模型
1.借用投屏软件,利用画图工具配置相关参数
config.py
,可以参考上面的“图像特征工程”
2.对于新的手机(我用的是honor8),必须重新训练模型,设置
config.py
中的
debug
参数为True,打开“加减大师”,然后运行
main.py
,这里必须手动答题,尽可能多答对一些题,目的为了扩充训练样本。
3.步骤2会产生一个
SingleCharForTrain
文件夹,剔除重复样本和无关样本。
4.运行
img_tool.py
文件,会生成一个
SingleCharForTrain
文件夹。
5.将步骤4得到的文件夹中的字符进行人工分类,保存至
TrainChar
文件夹。
6.运行
ml.py
文件,生成分类器模型
lr.pickle
。
注意桌面上不要有东西遮挡到手机的投影区域
根据分类器模型自动答题
1.修改
config.py
中的
debug
参数为False及其他相关参数。
#使用PC进行截图时点击手机屏幕正确区域的x坐标
'pc_tap_true_x':117,
#使用PC进行截图时点击手机屏幕错误区域的x坐标
'pc_tap_false_x':365,
#使用PC进行截图时点击手机屏幕正确和区域的y坐标
'pc_tap_y'
:760,
配置正确和错误选择的横纵坐标,横坐标不一样,纵坐标相同(在同一高度)
2.打开加减大师,直接运行
main.py
即可。
遇到的问题
Q1: 跑到200步左右就停了?
A1: 如果是误判的话,把出错的那张图重新截图,将得到的字符添加到
TrainChar
文件夹中,重新训练模型
A1: 如果是上一张图和这张图相同,再跑一次呗,不相信你运气会那么差
Q2: 刷到1000分,结果小程序上不了分
A2: 刚开始以为是答题时间没有设置随机的问题,设置
main.py
中
one_tap(res)
# 设置随机睡眠时间,随机性防止微信后台检测
if (count < 100):
time.sleep(0.1 * (random.randint(0, 9)))
elif (count <200):
time.sleep(0.05 * (random.randint(0, 9)))
elif (count <300):
time.sleep(0.01 * (random.randint(0, 9)))
elif (count < 400):
time.sleep(0.01 * (random.randint(0, 9)))
elif (count < 500):
# 可以控制到这一关gg
if (count == 455):
time.sleep(3)
然而并没有软用,估计是后台设置(个人认为,当天的分数不能超过第一名太多),反正是前500都能获得小卡片,你可以尝试设置比第一名多个几分或少几分。
记得给哥们的github打♥啊,上代码:
https://github.com/Yiutto/WechatGame_jjds


